
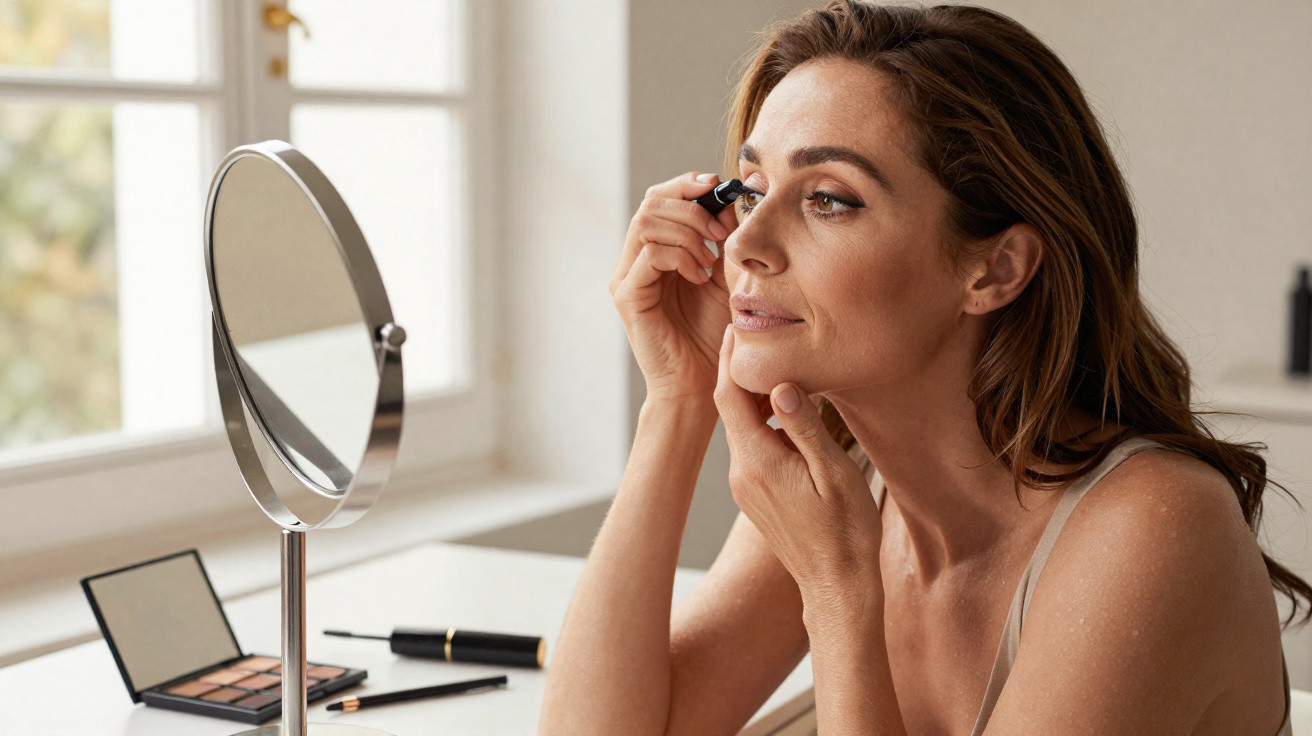
Many women notice changes around the eye area as they approach their fifties. The skin on the upper lid starts to droop, eyeliner no longer sits neatly, and eyeshadow settles into fine lines. It can make you look more tired or older than you actually feel. The good news is that a few straightforward make-up techniques can visually lift the eyes - with no surgery, expensive gadgets or filters.
Why eyelids start to droop after 50
As we age, skin loses elasticity. Collagen and elastin decline, the skin becomes thinner, and it gives way more easily. Around the eyes, this shows up early because the skin there is particularly delicate.
- The upper lid gradually sinks onto the mobile lid.
- The eye’s natural “lift” can look as if it has been pulled downwards.
- Eyeshadow and eyeliner transfer upwards more easily.
- Fine lines and tiny creases make colour smudge and migrate faster.
If you keep applying make-up the way you did at 30, frustration is common: eyeliner looks uneven, eye make-up appears messy, and the whole face can read as fatigued. It’s rarely about adding more product - it’s about switching technique to suit the new lid shape.
"With the right make-up strategy, a lowered lid can be lifted visually and the eyes can look younger and clearer."
Hooded eyelid make-up: preparation makes the difference
Before you reach for eyeshadow or liner, a quick prep step is worth it. It helps prevent creasing and keeps colour in place for longer.
Step 1: Mattify and smooth the skin
The upper lid can be slightly oilier, especially in the crease. That makes lines skip and turn patchy. A light dusting of powder or a thin layer of eyeshadow primer makes a noticeable difference.
- Using a fluffy brush, sweep a sheer layer of translucent powder across the upper lid.
- Alternatively, apply a dedicated eyeshadow base and let it set briefly.
- Keep the layer very thin so it doesn’t look dry or start to pill.
This helps fine lines sit flatter, leaves the skin feeling velvety, and reduces the chance of eyeliner or shadow slipping into creases.
Step 2: never pull the lid taut
A common habit is tugging the skin sideways to “straighten” an eyeliner line. On more mature skin, it backfires: once you let go and the lid returns to its natural position, the line breaks and can look wavy.
"Eyeliner has to work with the eye in its real, relaxed position - not on an artificially stretched lid."
So try to keep the eye as naturally open as possible while you apply, and tilt your head slightly back. That way you’re working with the shape you’ll actually see.
Tip 1: the “hidden” eyeliner that doesn’t crack in the crease
A classic long wing often stops working once the lids are noticeably lowered. The line disappears into the fold or looks kinked. That’s why skilled make-up artists use a slightly different approach.
How to place eyeliner for a lifted effect
- Start with a kohl pencil or liquid liner and draw a very thin line along the lash line - as close to the roots as you can.
- With your eye open, check exactly where the lid crease sits.
- Instead of placing the wing into the crease, add a small dot just beneath it.
- Carefully connect that dot back to the lash-line liner.
This positions the wing below the deepest fold. When the eye moves, the wing won’t “snap” in the crease - it stays visible as a subtle upward lift, without needing an exaggerated flick.
Product tip for unsteady hands
If liquid liner feels tricky, sketch the shape first with a soft, well-sharpened kohl pencil, then gently smudge over it with a dark eyeshadow. It’s more forgiving and creates a softer, flattering frame around the eye.
Tip 2: place eyeshadow deliberately above the crease
With hooded lids, a lot of colour disappears into the fold. The key is to move the emphasis slightly higher than you’d instinctively place it.
- Sweep a mid-tone, matte brown just above your natural crease.
- Guide the brush outwards and slightly upwards to visually “pull” the eye.
- Avoid very shimmery shades directly in the crease, as they can highlight fine lines.
This builds a “new” shadow a little higher up, giving the impression of a firmer, more lifted lid.
Tip 3: shape brows correctly - the underestimated lifting effect
It’s easy to focus only on shadow and mascara, but a major part of the visual lift comes from the eyebrows. The clearer and slightly higher the brow looks, the more awake the entire eye area appears.
"Well-shaped brows can visually outsmart a slightly lowered lid and make the face look noticeably younger."
How to work on your eyebrows for more “lift”
- Brush the brows downwards first to reveal the top edge.
- With a fine brow pencil, lightly define the upper line and fill gaps - without over-darkening.
- Brush the hairs back up so you can see the lower edge.
- Only add product where hair is genuinely missing.
The goal isn’t to colour in the whole brow area. What matters is a clean arch and as much clear, light space as possible directly beneath the brow. That brighter strip between brow and lid makes the eye area look instantly more open and lifted.
Tip 4: use mascara strategically instead of piling it on
Heavy mascara on the lower lashes can emphasise a downward pull. A better approach is to shift attention upwards on purpose.
- Coat the upper lashes well from the roots, especially on the outer third.
- Keep the inner lashes lighter so the eye doesn’t look closed-in.
- On the lower lashes, either use the tiniest touch of product - or skip them entirely.
Extra fullness on the upper outer area naturally gives the eye more lift. An eyelash curler can enhance it further, as long as lashes are clean and completely dry before curling.
What’s “behind” hooded eyelids - and when to see a doctor
For many women, a drooping upper lid is simply genetics combined with the normal ageing process. Occasionally, there can be more going on - for instance, vision being significantly restricted because skin drops over the pupil. In situations like that, a medical procedure may be worth discussing.
If your reflection is causing real distress or pressure, it’s reasonable to raise the topic with your GP or an ophthalmologist. Even so, surgery remains a very personal choice. For plenty of people, a well-adapted make-up routine is enough to feel comfortable again.
Practical tips for everyday life
A few habits can make hooded eyelid make-up easier day to day:
- Strong lighting - ideally daylight - helps you spot fine differences.
- A magnifying mirror makes precise lines much simpler.
- Less product often looks fresher than several heavy layers.
- While applying, keep checking your face in a normal, relaxed position - not only with your head tipped back.
And remember: your techniques can (and should) change as your face changes. What looked perfect at 25 may not suit you at 55 - that’s entirely normal. If you’re willing to learn a few new moves, you can get a lot more from your eye area, without doing anything drastic.





Comments
No comments yet. Be the first to comment!
Leave a Comment