
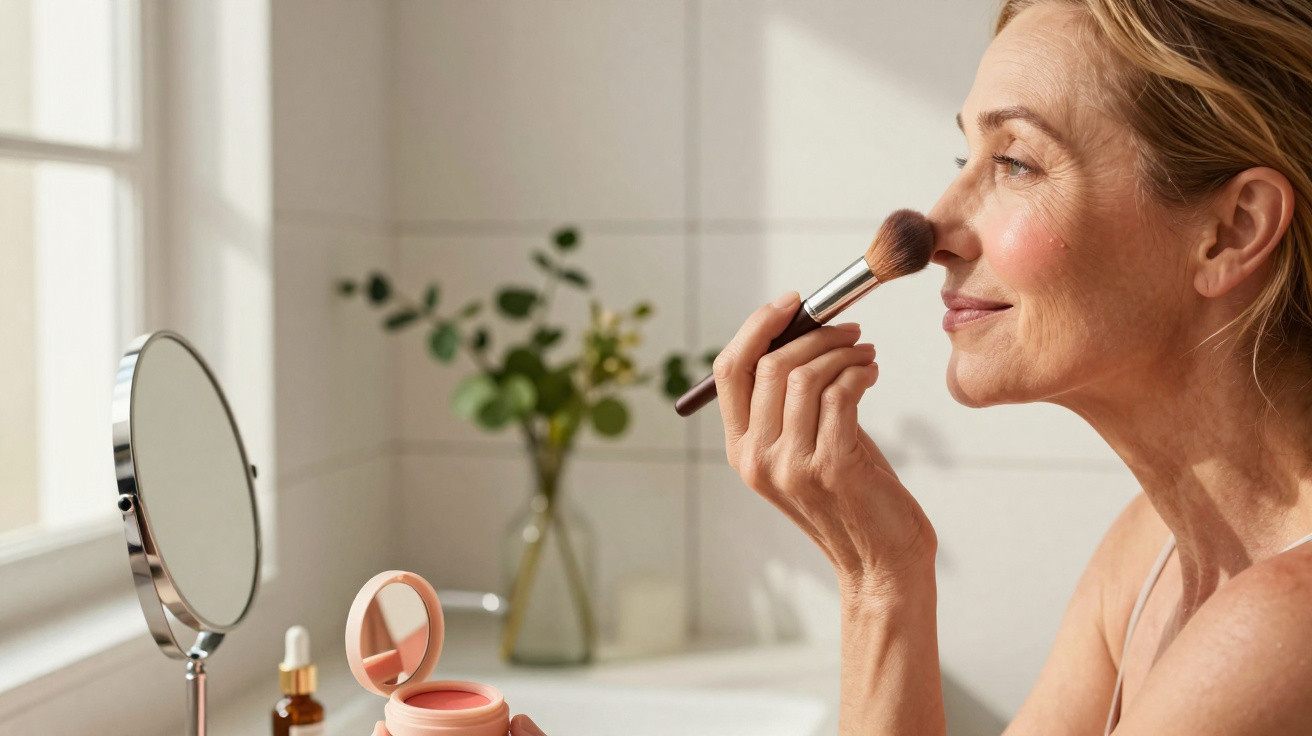
Applying blush after 50 can flatter the face when the shade and placement work with the natural structure of the cheekbones. Rather than concentrating colour low on the cheeks, an upward technique creates the illusion of lift and brings back a healthy glow without making the expression look harsh.
Where should you apply blush to create a lifting effect?
Start by placing the blush on the upper part of the cheekbone, roughly beneath the outer area of the eyes. From there, blend the colour in a soft diagonal towards the temples, following the natural contour and avoiding a hard stripe.
When blush sits mainly in the centre of the face or below the cheeks, it can visually pull the face downward. Lifting the placement helps restore balance, but the result will still depend on face shape and the amount of product used.
To get the placement right, keep an eye on the following:
- Height: begin on the higher area of the cheekbone.
- Direction: blend on an upward diagonal towards the temples.
- Blending: remove edges so the colour looks seamless and natural.
- Layers: start with very little product and build slowly.
- Shape: adjust the angle to suit the face’s natural proportions.
Why does cream or liquid blush work well on mature skin?
Blush is a cosmetic used to add colour and definition to the cheekbones, and it comes in powder, cream, and other formats. Each texture gives a different finish, and the best choice can vary with skin type, climate, and personal preference.
Cream and liquid formulas usually melt into hydrating foundations more easily, leaving a flexible, luminous finish. Powder, on the other hand, can emphasise dry patches when applied heavily-although finely milled options can still look good when used with a soft brush and built up in light layers.
How do you apply blush without patchiness or harsh lines?
After foundation, dot a small amount of cream blush onto the back of your hand, then pick it up with a sponge, brush, or fingertips. Press the colour onto the upper cheek using gentle tapping motions to maintain coverage and prevent patches.
Apply upwards, not downwards.
Less product gives you more control
Press the colour onto the upper cheek first, then start moving it towards the temples. Avoid dragging the brush downwards or placing colour too close to the jawline.
Next, blend the blush up and out, keeping it away from the sides of the nose and the jawline. Check the result from the front and in profile, adding more only if the intensity is too low and the finish is still even.
A straightforward step-by-step is:
- prep the skin with moisturiser and a thin layer of foundation;
- take a small amount of blush and remove any excess;
- press the product onto the high point of the cheekbone;
- blend on an upward diagonal towards the temples;
- compare both sides from the front before adding more colour;
- soften the edges using the same sponge you used for foundation.
Which shades bring back glow without hardening the expression?
Soft peach, coral, and gentle pink tones often create a well-rested look because they resemble a natural flush. Still, the best choice should reflect undertone and personal taste: very pale shades can disappear, while stronger colours need a lighter hand and careful blending.
For a radiant effect, choose subtle satin finishes and avoid large glitter particles over areas with more noticeable texture. Soft light can flatter the tops of the cheekbones, whereas too much shimmer tends to highlight pores and lines.
Combinations that often work well include:
- soft peach for a warm, natural effect;
- muted coral to add brightness to the face;
- dusky rose for an elegant, understated finish;
- soft pink to mimic a delicate flush;
- rosy earth tones for deeper skin tones;
- fine satin finishes instead of obvious glitter.
How can you adapt the technique to your natural face shape?
If you are looking for make-up guidance for mature skin and common mistakes after 60, you can pair upward blush placement with hydrating prep and a lightweight foundation. This order helps everything sit together, without relying on rigid contouring or heavy layers.
The aim is not to disguise natural changes in the face, but to adjust placement to suit the effect you want. Trying different heights, tools, and shades makes it easier to find a comfortable technique that adds colour, freshness, and harmony-without turning make-up into a fixed rule.


Comments
No comments yet. Be the first to comment!
Leave a Comment