
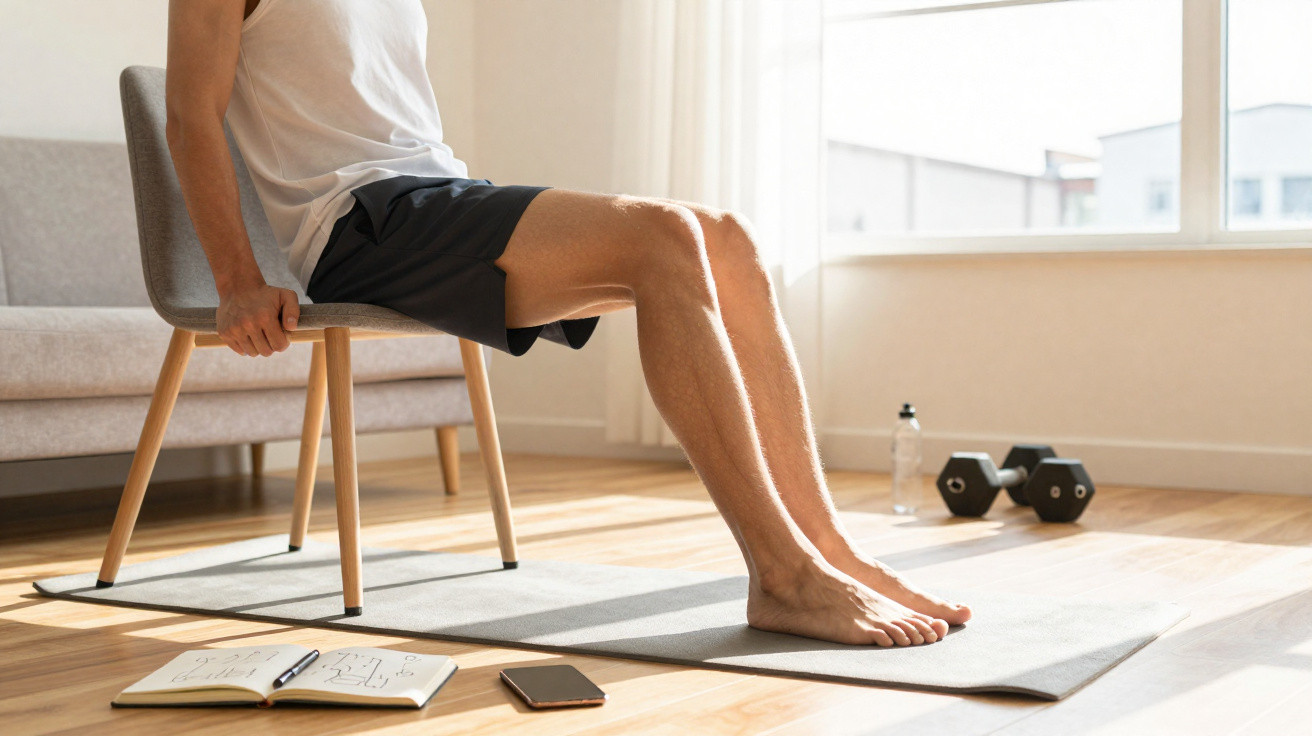
Heel raises are a straightforward exercise, yet when you perform them with control they target the calves directly. Done standing or seated, the movement strengthens the back of the lower leg and supports stability and push-off power in everyday activities.
Why do heel raises activate the calves so much?
The gastrocnemius sits at the back of the leg, just below the knees, and lies over the soleus. Together, these muscles make up the calf and share an attachment through the Achilles tendon, playing a key role in ankle plantar flexion.
During heel raises, you lift your body onto the balls of your feet and then lower with control. That pattern mirrors the action of pressing the foot down, demanding repeated contraction, coordination, and calf strength.
Key points that make the exercise more effective include:
- Upwards phase: raise your heels until you feel your calves tighten.
- Balance: hold onto support if you wobble too much.
- Downwards phase: lower slowly to keep muscular tension.
- Repetitions: build consistency before making it harder.
- Limit: stop if you feel sharp pain or ongoing discomfort.
How do you do the movement standing or seated?
For the standing version, place your hands on a wall or chair for support, keep your torso aligned, and lift your heels without rolling your weight to the outside of your feet. Then lower slowly, maintaining balance and control.
For the seated version, keep your feet flat on the floor and lift your heels while the balls of your feet stay planted. This option reduces the balance demand and lets you train the calves with more safety and precision.
How many repetitions are recommended to start?
If you are new to the exercise, a solid starting point is 2 to 3 sets of 12 to 20 repetitions, always at an unhurried pace. The lift should be strong and deliberate, and the lowering phase needs to be slow to maintain tension and quality.
Calf training with control
Each repetition needs full range
Lifting only a little reduces the stimulus, while dropping down quickly removes part of the muscular work.
The best way to begin is to control every phase, without using momentum or holding your breath.
Between sets, resting for 30 to 60 seconds is usually enough to regain control. If you get cramp, sharp pain, or your technique breaks down, it is best to stop and adjust the load and the range of motion.
To structure your first sessions:
- Do 2 to 3 sets per session.
- Start with 12 to 20 controlled repetitions.
- Rest for 30 to 60 seconds between sets.
- Use support if your balance is still unsteady.
Why is training 2 or 3 times per week enough?
Training 2 or 3 times per week lets you repeat the stimulus without stressing the same muscles every day. Because the gastrocnemius is involved in standing, walking, running, and jumping, it also needs rest and recovery.
Working the calves daily can seem more productive, but it increases the risk of compensations once technique starts to slip. Progress tends to come more reliably through consistency, good range of motion, time between sessions, and unhurried gradual progression.
To respect weekly recovery:
- Leave at least one free day between hard sessions.
- Avoid increasing load and repetitions in the same week.
- Watch for excessive fatigue, persistent pain, or technique loss.
- Pair the exercise with movements that train the whole leg.
How do you include heel raises in your routine?
Heel raises can be added at the end of a leg workout or included in short home sessions. In routines such as exercises to strengthen the legs, they complement larger movements with focus and simplicity.
What matters most is doing the movement well before increasing difficulty. With feet aligned, a controlled lift, a slow descent, and rest between sessions, your calves receive enough stimulus to build endurance and day-to-day function safely.





Comments
No comments yet. Be the first to comment!
Leave a Comment