
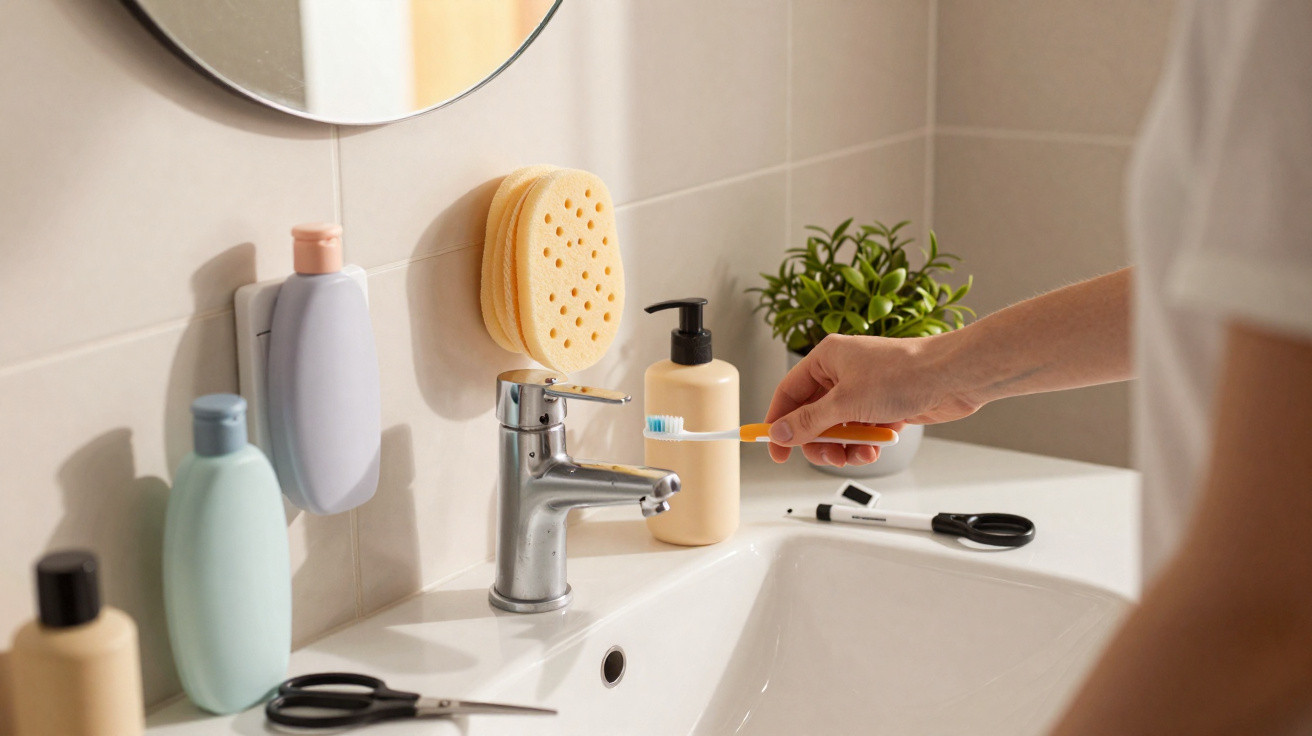
An empty shampoo bottle usually goes straight in the bin the moment the last of the product is gone. Yet the rigid plastic it’s made from is water-resistant, naturally waterproof and structurally sturdy - meaning that, with nothing more than a quick snip with scissors, it can become a set of practical bathroom organisers. The Japanese philosophy of mottainai - which encourages making full use of every resource before discarding it - underpins three concrete reuses that solve real bathroom organisation problems without spending a penny.
Why a shampoo bottle is better than it looks for bathroom use
Shampoo-bottle plastic is engineered to cope with constant damp, contact with chemical products and the occasional drop without cracking. In the shower, that durability protects what’s inside; when repurposed, those same qualities become a clear advantage for a bathroom organiser. Unlike cardboard or wooden organisers, shampoo-bottle plastic doesn’t soak up water, won’t foster mould, and can be washed using the same soap you already use in the bathroom.
The shape helps as well: most bottles have relatively flat sides that sit securely once cut and placed on smooth surfaces. Bottles with a pump or dispensing nozzle are usually made from thicker, stiffer plastic, which produces organisers that last longer. Small, medium and large bottles create organisers in different sizes, so you can match each one to a specific job in the bathroom.
- Phone holder for charging: stops your phone being left on the floor or on damp surfaces while it charges, by creating a hanging tray that attaches directly to the socket
- Draining sponge holder: with small holes in the base to let water run out, it keeps the sponge raised and dry between showers, improving hygiene and reducing mould
- Toothbrush holder and accessories organiser: cut to the right height, it groups toothbrushes, combs, make-up brushes and razors while keeping the basin completely clear
- Customisable with spray paint or adhesive film: once cut, the bottle can be painted or covered to look like a shop-bought storage accessory
- Zero cost and the mottainai philosophy: using the material before throwing it away reflects the Japanese principle of valuing resources - the bottle still has plenty of useful life left long before it becomes rubbish
Idea 1: a phone holder that hangs from the socket
A phone charging on the bathroom floor or balanced on a damp surface is a common annoyance in many homes. The shampoo-bottle fix is straightforward and works well: take a rigid plastic bottle and cut off the bottom so you’re left with a piece about 18 centimetres tall. In the upper section you’ve kept, cut a centred tab-shaped opening - a rectangle around 4 centimetres wide - designed to slot around the wall charger adaptor.
This creates a suspended tray that’s held in place by the tab fitting around the charger, with no glue or tape required. Your phone sits inside the cut bottle while it charges, away from wet surfaces and out of reach of small children. Because the bottle plastic is waterproof, it doesn’t introduce any extra electrical risk, and the holder comfortably supports the weight of any smartphone.
Idea 2: a sponge holder with drainage holes
A bath sponge left on a wet surface will build up bacteria far faster than one kept in an airy spot with proper drainage. That’s exactly what the second project addresses. Slice the bottle lengthways, leaving one side higher than the other so you create a sloped shape that naturally encourages water to run off. Then, using a nail heated over the cooker flame or a fine drill bit, make small holes in the base of the cut plastic.
Cutting and finishing tips for all three projects
Four simple precautions that separate a rough result from a professional-looking finish
Use very sharp, straight-cut scissors so the plastic edge comes out clean, without burrs. Before you cut, mark your cutting line with a permanent marker and masking tape - the tape acts as a guide and helps stop the scissors slipping. After cutting, lightly sand the edge with fine finishing sandpaper to remove any points that could catch or hurt your hands during use. For the drainage holes in the sponge holder, heat a thick nail over the cooker flame for 10 seconds and press it into the plastic - the heat melts through rather than cracking the material, leaving neat, clean holes.
To personalise the pieces, apply spray paint with a plastic primer before the final colour - without primer, the paint will start to peel within a few days when exposed to water. Self-adhesive film (Contact) also works very well on the outside of the bottle and needs no surface preparation. Spending a single afternoon sorting the bottles you’ve built up and customising everything in a matching colour scheme can change the look of the bathroom, with no cost beyond the finishing materials.
With the holes in place, water drains away freely, keeping the sponge raised and dry between showers. A sponge that stays wet and pressed against a closed surface starts to smell and allows bacteria to multiply much more quickly than one stored in a holder with proper drainage. This small hygiene detail, which is easy to add, makes a genuine difference to how long the sponge lasts and how clean it stays over the weeks.
Idea 3: a toothbrush holder and sink accessories organiser
Travel-size or small shampoo bottles, cut down to about ten centimetres tall, are ideal as toothbrush holders. Add drainage holes in the base using the same method as the previous project, so water dripping from the brushes doesn’t pool inside the container. Once it’s cleaned, cut and perforated, you have a durable, waterproof, washable toothbrush holder.
Larger bottles, cut a little taller, can hold combs, make-up brushes, disposable razors and eyeliner pencils together in one tidy place. Set on the basin, these organisers replace the scattered clutter that makes a bathroom look messy. The Japanese principle behind all three projects is the same: every item has a defined place, the sink stays clear, and cleaning becomes quicker because there’s nothing loose to move before wiping down. Share this with anyone who has a small bathroom and doesn’t know how to organise the basin without buying new accessories.






Comments
No comments yet. Be the first to comment!
Leave a Comment