
Fine lines, dry patches, foundation that settles - the dream of a “filter effect” complexion often falls apart in real life. A technique from Japan is now making the rounds, designed to leave skin looking smoother, brighter and impressively natural, without you needing to replace your entire make-up bag.
Why this Japanese approach challenges classic make-up
A lot of Western make-up routines are built around one main aim: cover everything. Pores, redness, blemishes - the goal is to make it all disappear. The downside is that it can quickly turn into heavy layers that you can see on the skin, and that crack or shift as your face moves.
Japanese beauty culture tends to work differently. There, make-up is meant to work with the skin rather than hide it. The starting point is always well-cared-for, well-supported skin; only then does colour come into play. The make-up should sit on top like a second, ultra-thin layer - almost undetectable.
“Complexion looks its best when nobody can tell foundation is involved.”
That’s exactly the idea behind the technique used by Japanese make-up artist Hiromi Ueda, who works for a major luxury brand and is regularly tested by high-resolution cameras. Her benchmark is simple: if it holds up in TV studios or in front of 4K cameras, it will hold up in everyday life too.
The base: skincare before foundation, not after
Before you even think about applying a dab of foundation, the focus is on what the skin looks and feels like. Does it feel tight? Is it very shiny? Are there tiny dehydration lines around the nose, mouth or forehead? This is where the Japanese method begins.
Targeted hydration instead of a thick layer of cream
One key step many people skip: put hydration exactly where it’s needed. Instead of applying a rich cream all over, you work in specific areas.
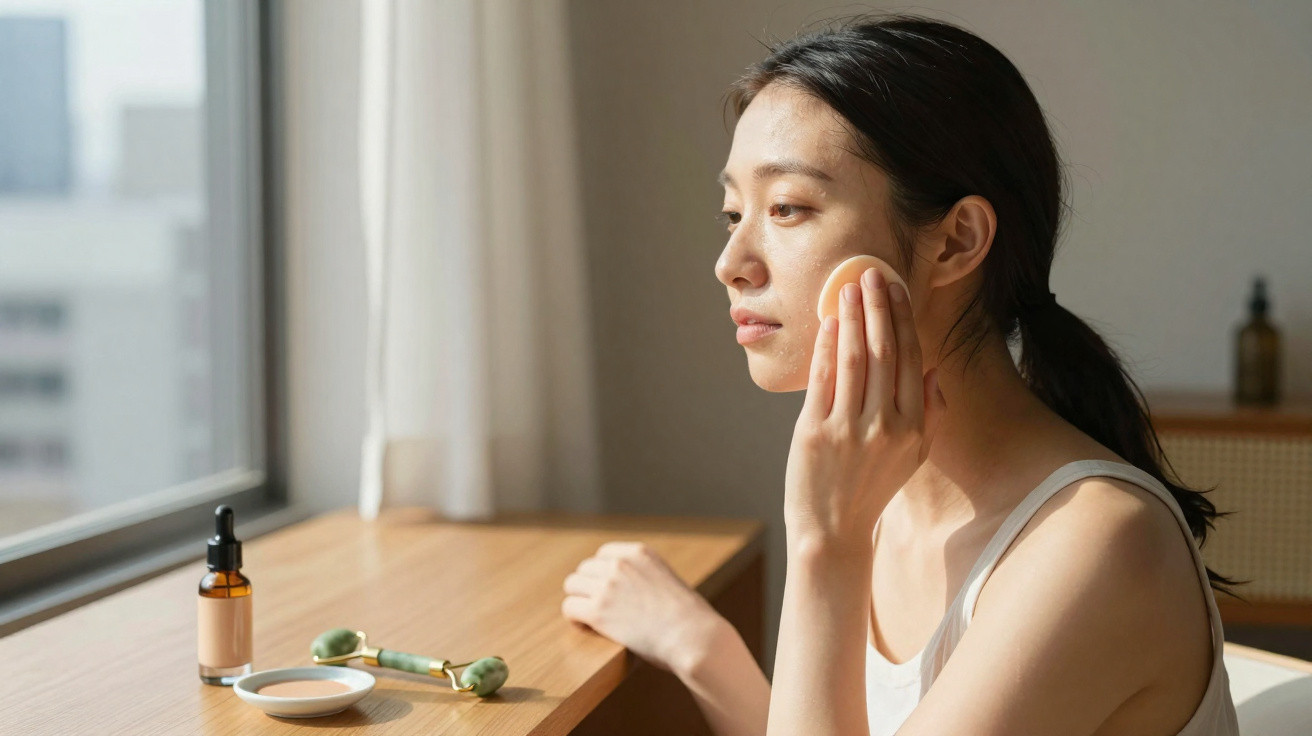
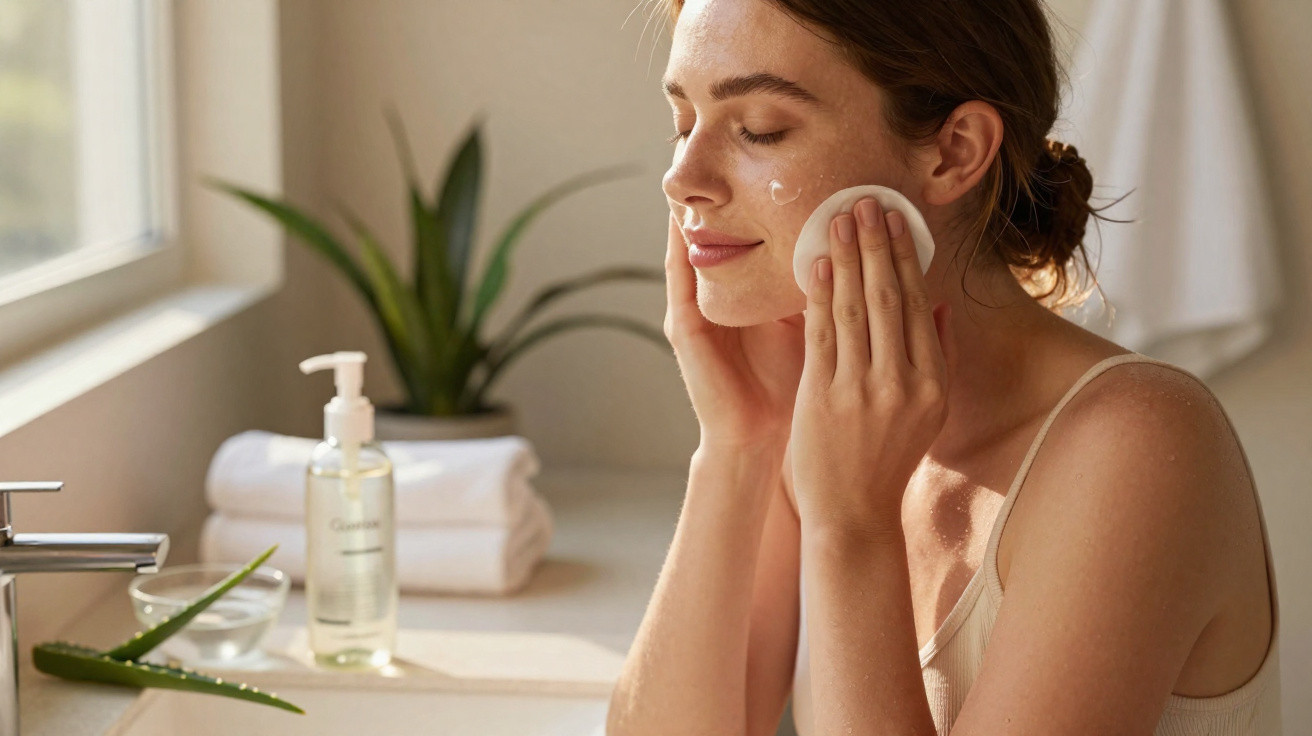
- Soak a cotton pad or a thin cotton cloth with a lightweight lotion
- Lay it over dry areas (cheeks, around the nostrils, sometimes the chin)
- Leave it on for a few minutes, for example while you do your eye make-up
Afterwards, the skin looks plumper and smoother without feeling greasy. Foundation no longer clings to dry flakes - it glides over them.
A short facial massage for softer-looking features
After hydration comes a quick mini facial: use your fingertips and work from the centre of the face outwards - forehead, cheeks, jawline. Small circular movements are enough.
This boosts circulation, relaxes tense features and helps skincare spread more evenly. The result is that foundation is less likely to settle into lines, and the overall expression reads softer.
The Japanese 4-step technique for a bare-skin-looking complexion
The method is built around four straightforward steps. You can do them with almost any foundation - you don’t have to switch to Asian brands immediately.
- Targeted hydration treatments with lotion pads
- A brief massage from the centre of the face outwards
- Mix foundation with concealer instead of layering product on top of product
- Combine two shades to emphasise natural shape and dimension
Mixing foundation with concealer - less product, more impact
Rather than applying foundation first and then layering a high-coverage concealer on top in certain spots, you combine them straight away in the palm of your hand: a small amount of foundation plus a touch of concealer. Blend briefly with a finger or brush until it’s smooth and uniform.
This blend comes with two benefits:
- It corrects where needed without looking heavy.
- It stays thin enough that your natural skin texture can still show through.
Redness around the nostrils, mild under-eye shadowing or small blemishes can be evened out like this - without leaving the whole face under a thick layer of make-up.
Two shades for true facial shape instead of harsh contouring
The next step often surprises anyone used to contouring. Instead of drawing obvious lines with dark sticks, the Japanese method uses two shades that are very close to one another:
| Area | Shade | Effect |
|---|---|---|
| Centre of the face (forehead, nose, mid-cheek, chin) | A shade that matches your skin tone exactly | Calmness, balance, a fresher-looking complexion |
| Outer areas (hairline, temples, cheek contour, jawline) | A slightly warmer, minimally deeper shade | Gentle depth and a natural “receding” of contours |
This creates volume and definition without making it obvious where make-up starts and ends. In photos, the face looks dimensional - never painted on.
“Instead of strobing and harsh contouring, a subtle variation in tone makes the face look like itself - just more rested.”
How to adapt the technique to your skin type
You can use this method across different skin types as long as you adjust the textures.
Dry or mature skin
Here, creamier formulas with caring ingredients are worth choosing. Many modern foundations include ingredients such as hyaluronic acid, glycerin or ceramides. They lightly smooth the surface and add a refined glow - not oily, more like natural freshness.
- Do the lotion-pad preparation especially carefully
- Avoid powder over areas with fine lines; at most use a minimal amount in the T-zone
- Use a brush or a damp sponge so you don’t press product into lines
Combination and oily skin
If you shine quickly, lighter liquid or gel textures with a soft (not fully matte) finish tend to work better. A hint of sheen makes skin look alive, whereas ultra-matte products can exaggerate a “mask effect”.
A practical routine:
- Use mattifying primer only where shine actually appears (usually forehead, nose, chin)
- Apply foundation sparingly - often half a pump is enough for the whole face
- Set only a few areas with a fine powder, rather than mattifying the entire face
How to avoid the mask look day to day
Many issues are simply down to using too much product. When people apply foundation generously, they often misjudge how far a small amount can go.
“For an everyday complexion, half a pea-sized amount of foundation is often enough - the rest can be handled with targeted correction.”
Apply your foundation-and-concealer mix to the centre of the face: around the nose, across the cheeks and on the chin. Then blend gently outwards with a brush, sponge or fingers until the edges are nearly invisible. The outer parts of the face usually need far less product than the centre.
If you notice foundation slipping into fine lines during the day, don’t reach for powder straight away. First, lightly lift away excess product with a clean finger or a soft brush, then apply a tiny amount of powder only where necessary.
Why the technique works so well on camera
High-resolution cameras forgive nothing: any thick layer or hard edge will show. The Japanese approach - skincare first, then whisper-thin layers - has proven itself in studio settings.
It’s just as useful in everyday life: office lighting, smartphone flash and bright daylight can be brutally revealing. Working in fine layers reduces the risk of make-up sitting on top of the skin instead of looking like part of it.
Many trends from Japan and Korea also favour foundations with built-in sun protection. That offers extra defence, but it should never replace proper skincare. For a genuinely good-looking complexion, both matter: consistent skin care and a smart, restrained use of make-up.
When you practise these four steps consciously for a few days in a row, the change is often noticeable quickly: less product, less fuss, and more compliments on “great skin” rather than “great make-up”.


Comments
No comments yet. Be the first to comment!
Leave a Comment